

There are numerous textarea WYSIWYG editors on the market. In this article, I took four popular ones - CKEditor, TinyMCE, Trix, and Quill - and demonstrated how to integrate them into a Laravel project, each with a file/image upload feature. Consider the following examples.
Prepare Tasks CRUD
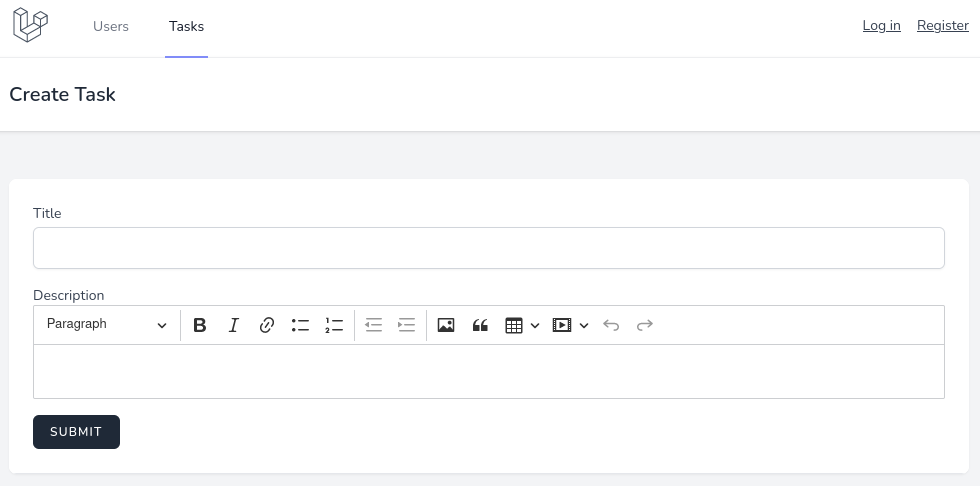
For demonstration of those text editors, we will prepare a demo project with a form: it will be a basic Tasks CRUD with only title (text) and description (textarea for the upcoming editor) fields.

Also, we're preparing two things for the upcoming file upload with the editors:
- For the file upload, every editor will POST to the route named
upload,which will use theTaskControllermethodupload(). For now, it's empty; we will fill it in for every editor separately. - For managing images, we will use the Spatie Media Library package. To install and prepare the model to work with that package, read their documentation.
Ok, now as we prepared our form, let's add the editors, one by one. Each of those editors will have a separate branch in the Github repository, the links will provided below.
CKEditor
First, of course, we need to initialize the CKEditor. According to the docs, we need two steps for that:
- Load editor
- Create editor
In both the create and edit forms, at the end of the file, before </x-app-layout>, add JS code.
resources/views/tasks/create.blade.php && resources/views/tasks/edit.blade.php:
Now you should see CKEditor in your form.
Post a Comment
Post a Comment